The process
How an EV charger gets installed
Start to finish, so you know what you are paying for and can tell when a quote is missing a step.
By Sawyer V. · Published September 8, 2026
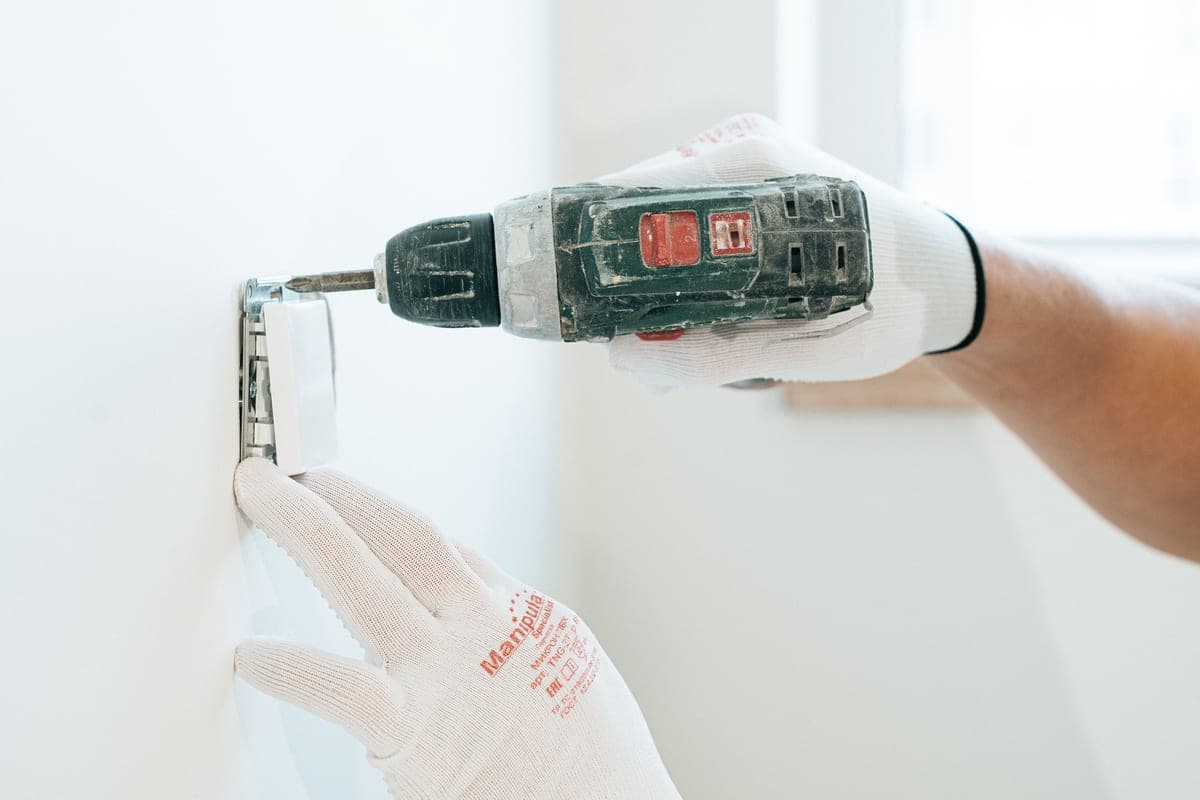
Step 1: Decide where the charger goes
Before anyone quotes, know your mounting position. Measure the cable run from there to your charge port as you actually park, and add three feet of slack -- the measuring method. Mount height is typically 40 to 50 inches; check your unit's manual.
The single biggest cost lever is distance from the panel. Every foot of heavy conductor, and every wall it has to pass through, is money.
Step 2: Load calculation
The electrician confirms your service can carry the new circuit. This determines your charger's amperage, and whether you need a subpanel or a service upgrade. Load calculation.
Step 3: Permit
Most jurisdictions require an electrical permit for a new 240-volt circuit, typically $50 to $300. Your electrician normally pulls it. Permits.
Step 4: The circuit
The physical work: a double-pole breaker in the panel, conductors sized for the load and the run, and a route to the charger location -- through walls, through an attic or crawlspace, in conduit along a garage wall, or underground if the destination is detached.
For a plug-in installation the run terminates in a receptacle; for a hardwired one it terminates at the charger itself. Hardwired vs plug-in.
Step 5: Mounting and connecting
The charger is fixed to the wall -- into studs or with appropriate anchors, and on masonry with the right fixings. Hardwired units are landed on their terminals and torqued to the manufacturer's specification. The holster goes on so the connector hangs downward.
Step 6: Commissioning
Power on, set the amperage to match the circuit, connect to Wi-Fi if the unit has it, and complete a test charge. This is where you confirm the unit is actually set to the right current -- a charger set above its circuit is a real hazard and it is worth watching this step.
Step 7: Inspection
The inspector checks the breaker, conductors, terminations, grounding, GFCI protection where required, and that the equipment carries a recognized safety listing. Keep the signed permit -- you will want it when you sell.
How long it all takes
| Scenario | Typical duration |
|---|---|
| Panel in the garage, short run | A few hours |
| Panel elsewhere, run through walls | Most of a day |
| Detached garage with a trench | Multiple days |
| Service upgrade required | Days, plus utility scheduling |
Where a homeowner must stop
- Anything inside the panel. The bus bars are live even with the main breaker off.
- Running new circuit conductors, in almost every jurisdiction.
- Any work that requires a permit, unless you are permitted to pull one as a homeowner and are competent to do it.
What you can do: choose the location, measure the run, buy the charger, and -- if a suitable 240-volt outlet already exists -- plug a plug-in unit into it.
FAQ
Questions people actually ask
How long does it take to install an EV charger?
What does an electrician do during an EV charger installation?
Do I need to be home during installation?
Sources
Where these numbers come from
- NEC Article 625: EV charging equipment — WireRef
- ChargePoint Home Flex installation FAQ — ChargePointManufacturer's published installation requirements.
Read next
Related reading
- Can you install your own EV charger?What you can legally do yourself, what needs an electrician, and why the difference matters.
- Do you need a permit for an EV charger?When a permit is required, what it costs, what the inspector checks, and why to bother.
- Hiring an electrician for your EV chargerThe questions to ask, what a comparable quote contains, and the red flags.
- Hardwired or plug-in: which EV charger install is right?NEMA 14-50 or hardwired: amperage limits, cost, portability and what inspectors prefer.